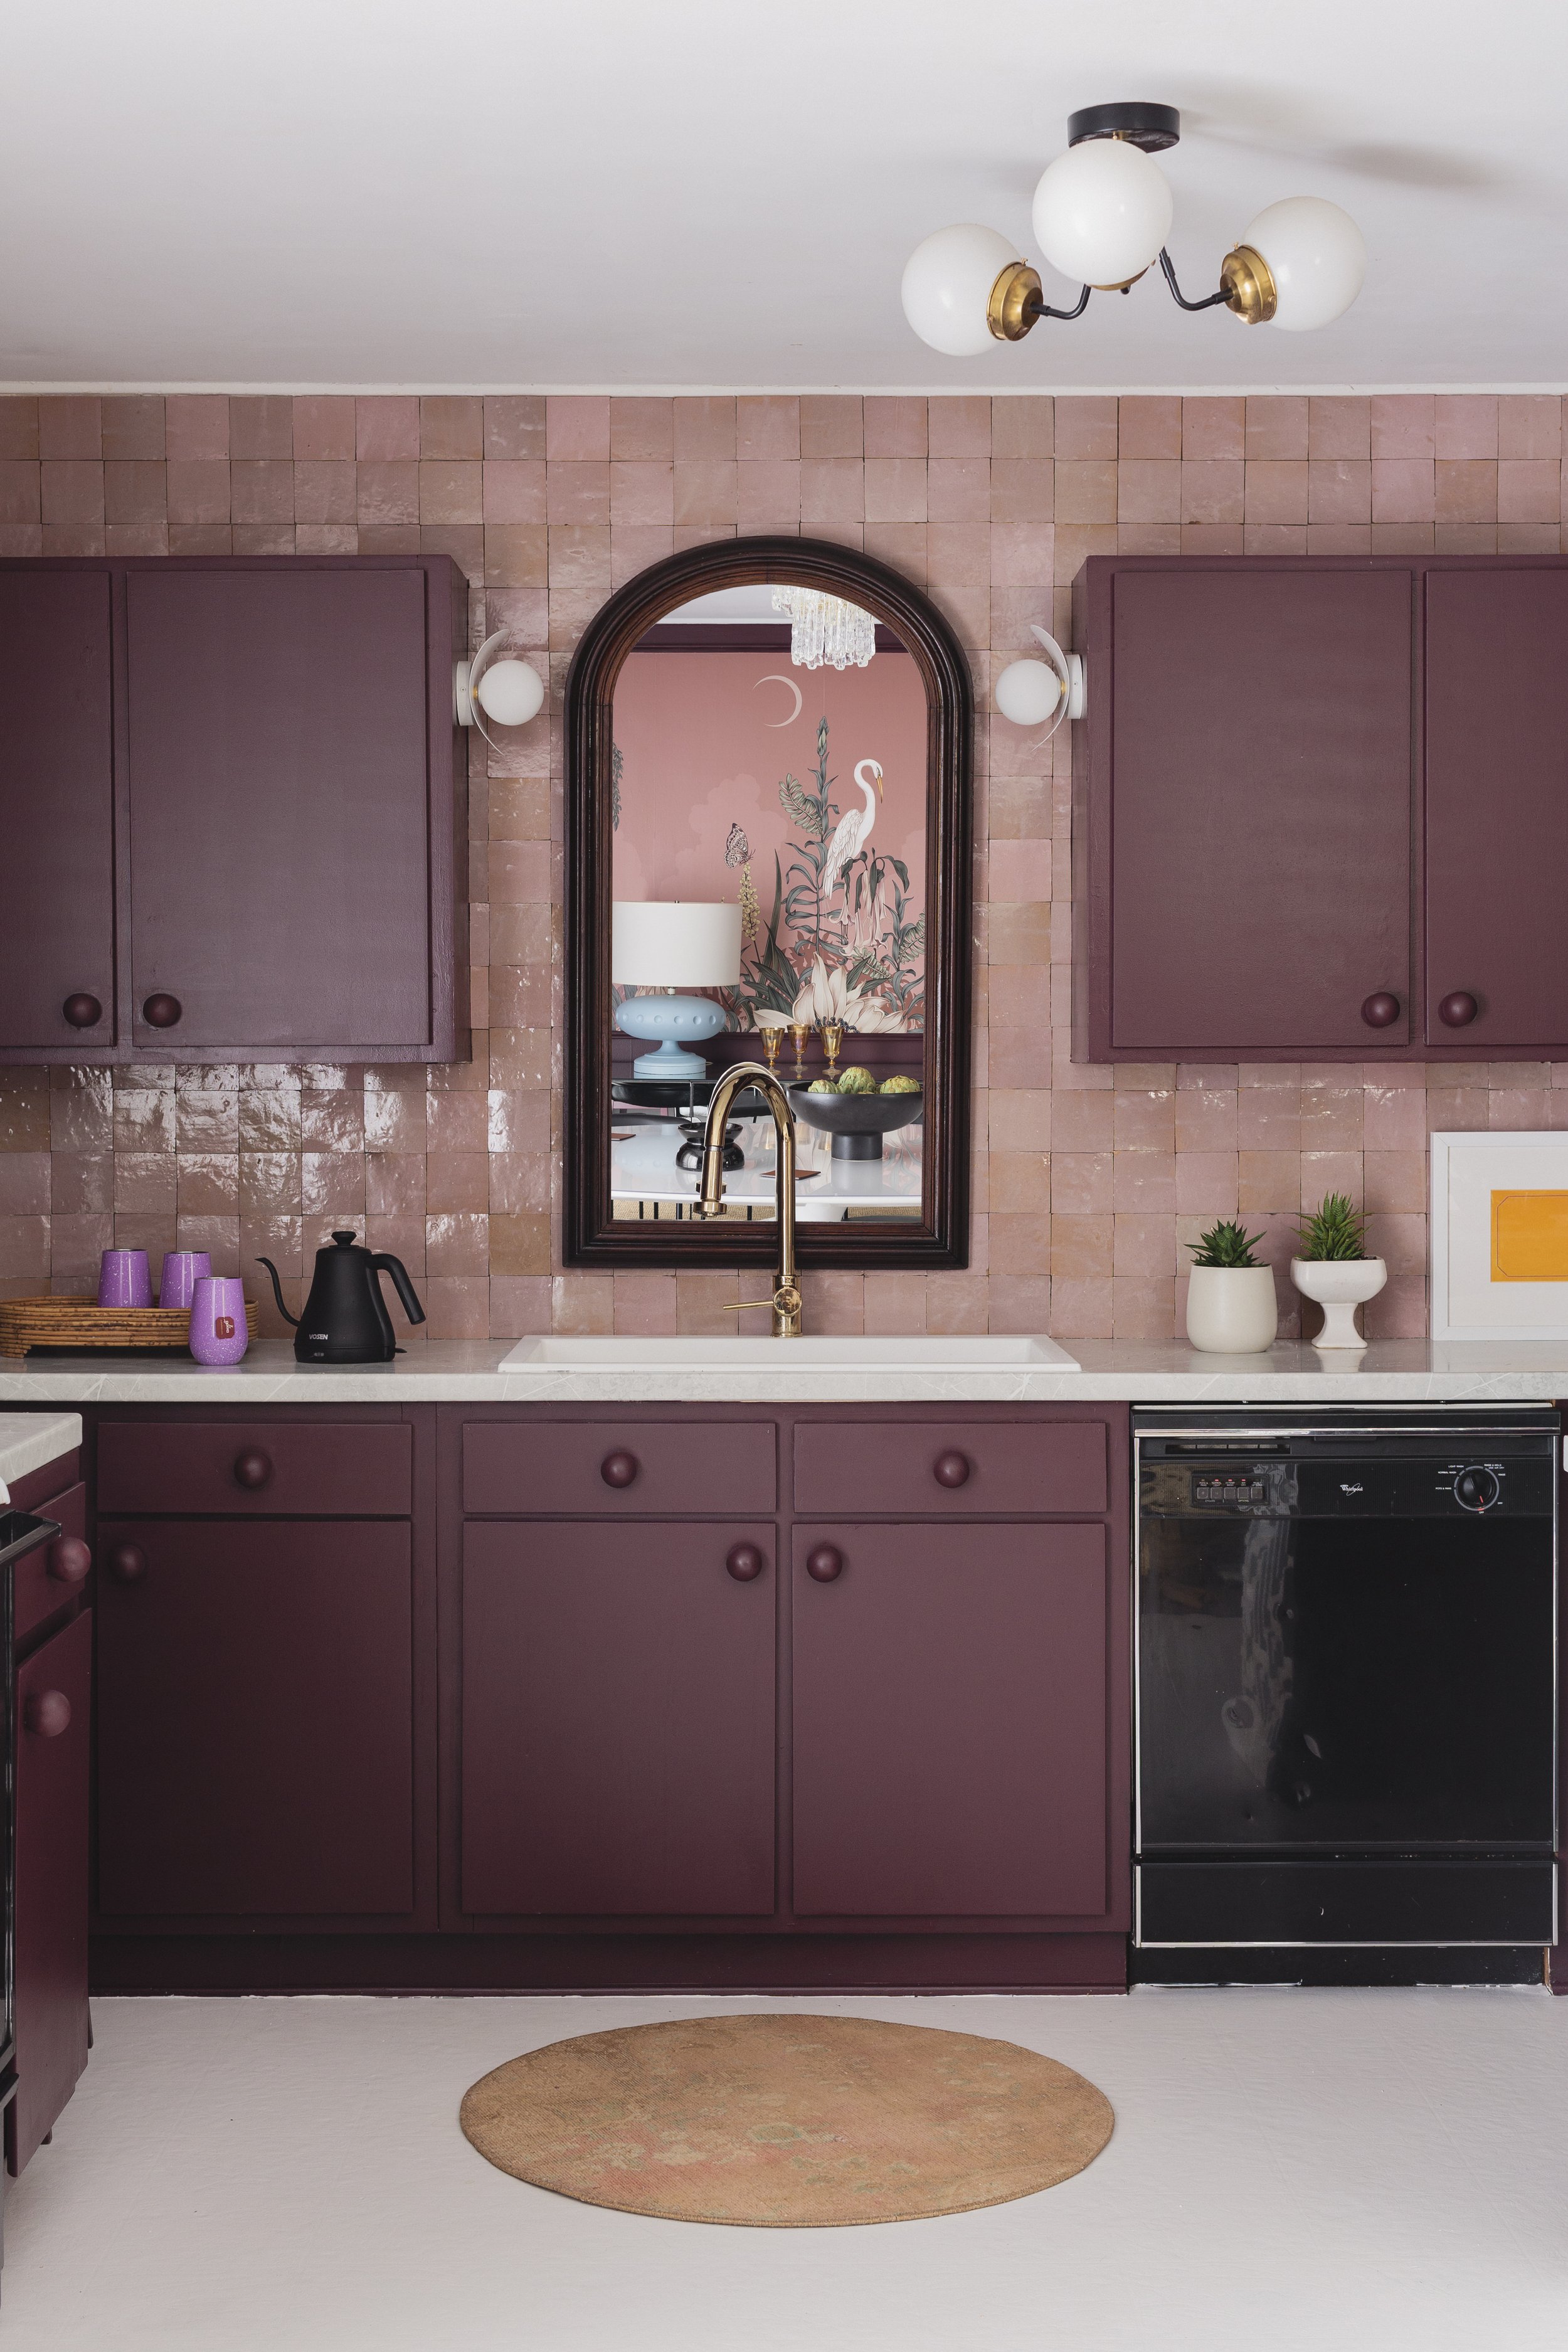
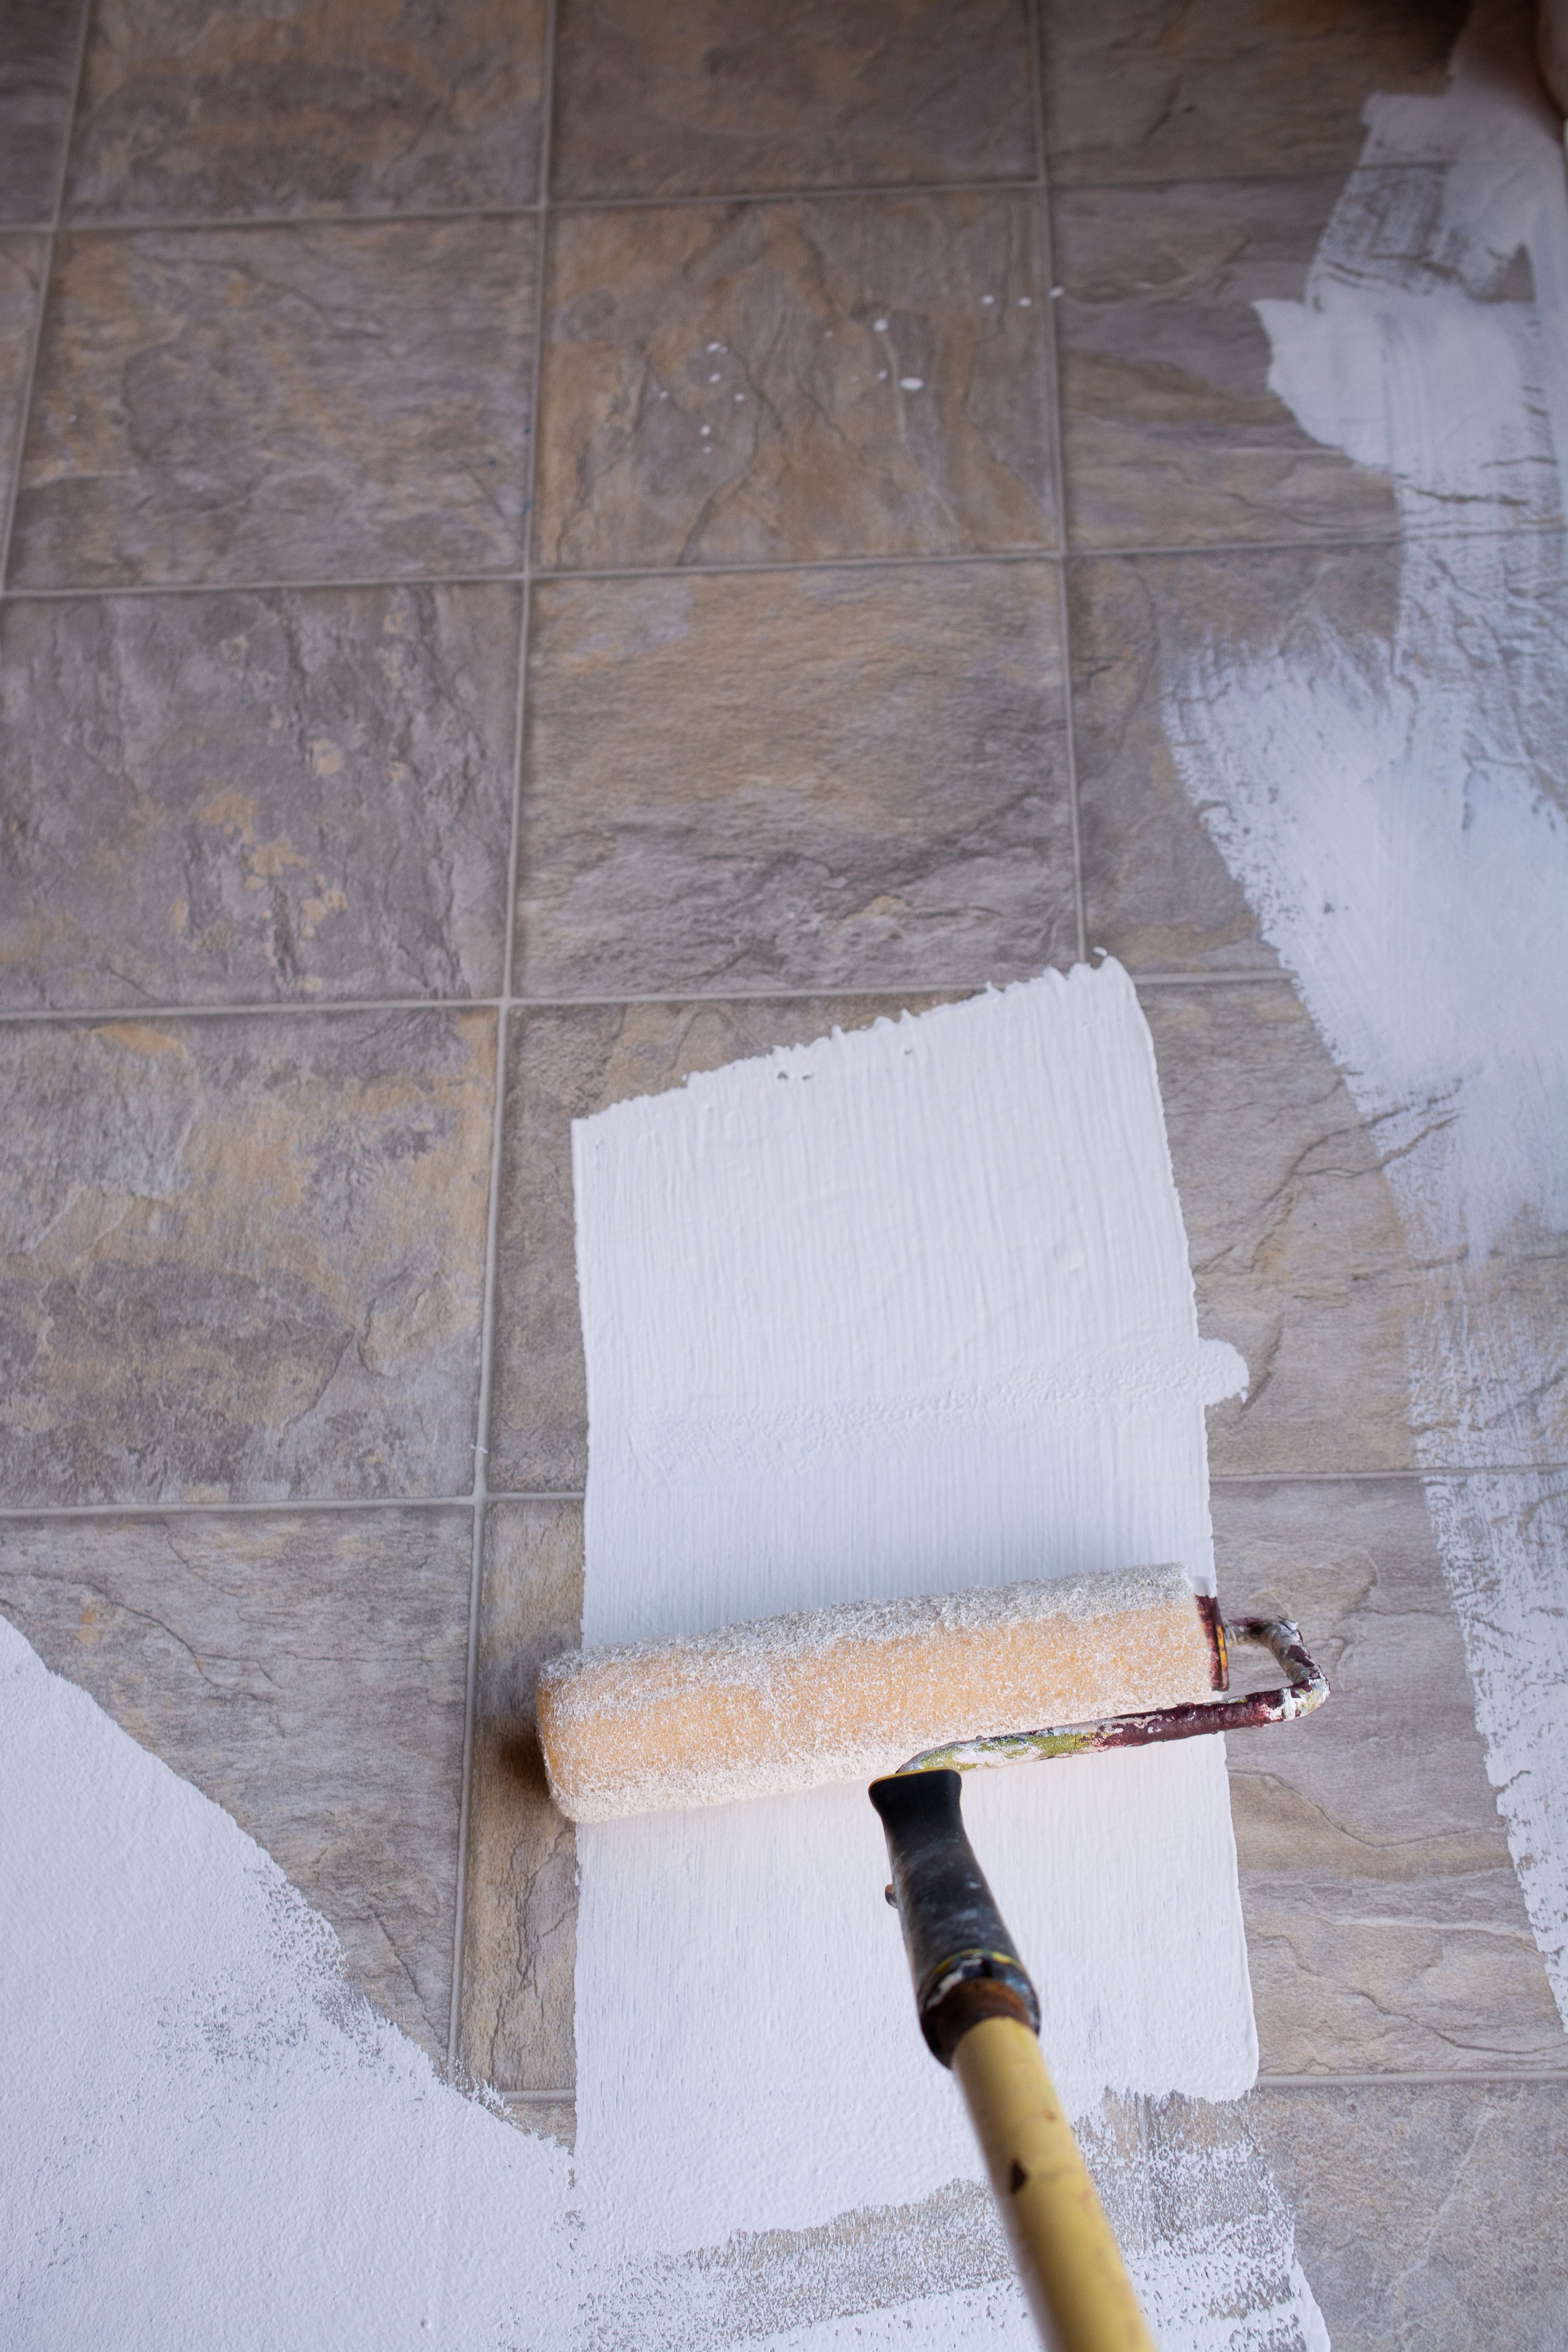
How to paint over a tile or linoleum floor
One of the most impactful change made in my recent kitchen remodel, was also the cheapest!
You guys, I painted over my linoleum floors. Is it the best, most lasting flooring choice? Definitely not. And I had my concerns. Especially since the flooring was already 30 years old, chipped and peeling in areas. Oh, and did I mention it needed to hold up to my kid and dog?
It’s really not as hard as you might think. I would describe the process as more of an inconvenience. But if it’s a room that doesn’t get a lot of foot traffic, it’s not bad at all. And this method requires no sanding!
In this post, I’m sharing my personal experience painting over my floor. I can’t guarantee you will experience the same results, so please follow the manufacturers instructions. As with all DIY paint projects, I recommend you test on an inconspicuous part of your flooring first.
painting over vinyl flooring
This post contains affiliate links, which means I make a small commission at no extra cost to you. See my full disclosure here.
Before
We all have them. That room in the house with the dingy floor you are not quite ready to rip out. Maybe it’s a bathroom you hardly use, or maybe, like me, it’s your entire kitchen/dining area. In my case, this room takes up 25% off the square feet of our house, so it will be expensive to replace when the time comes.
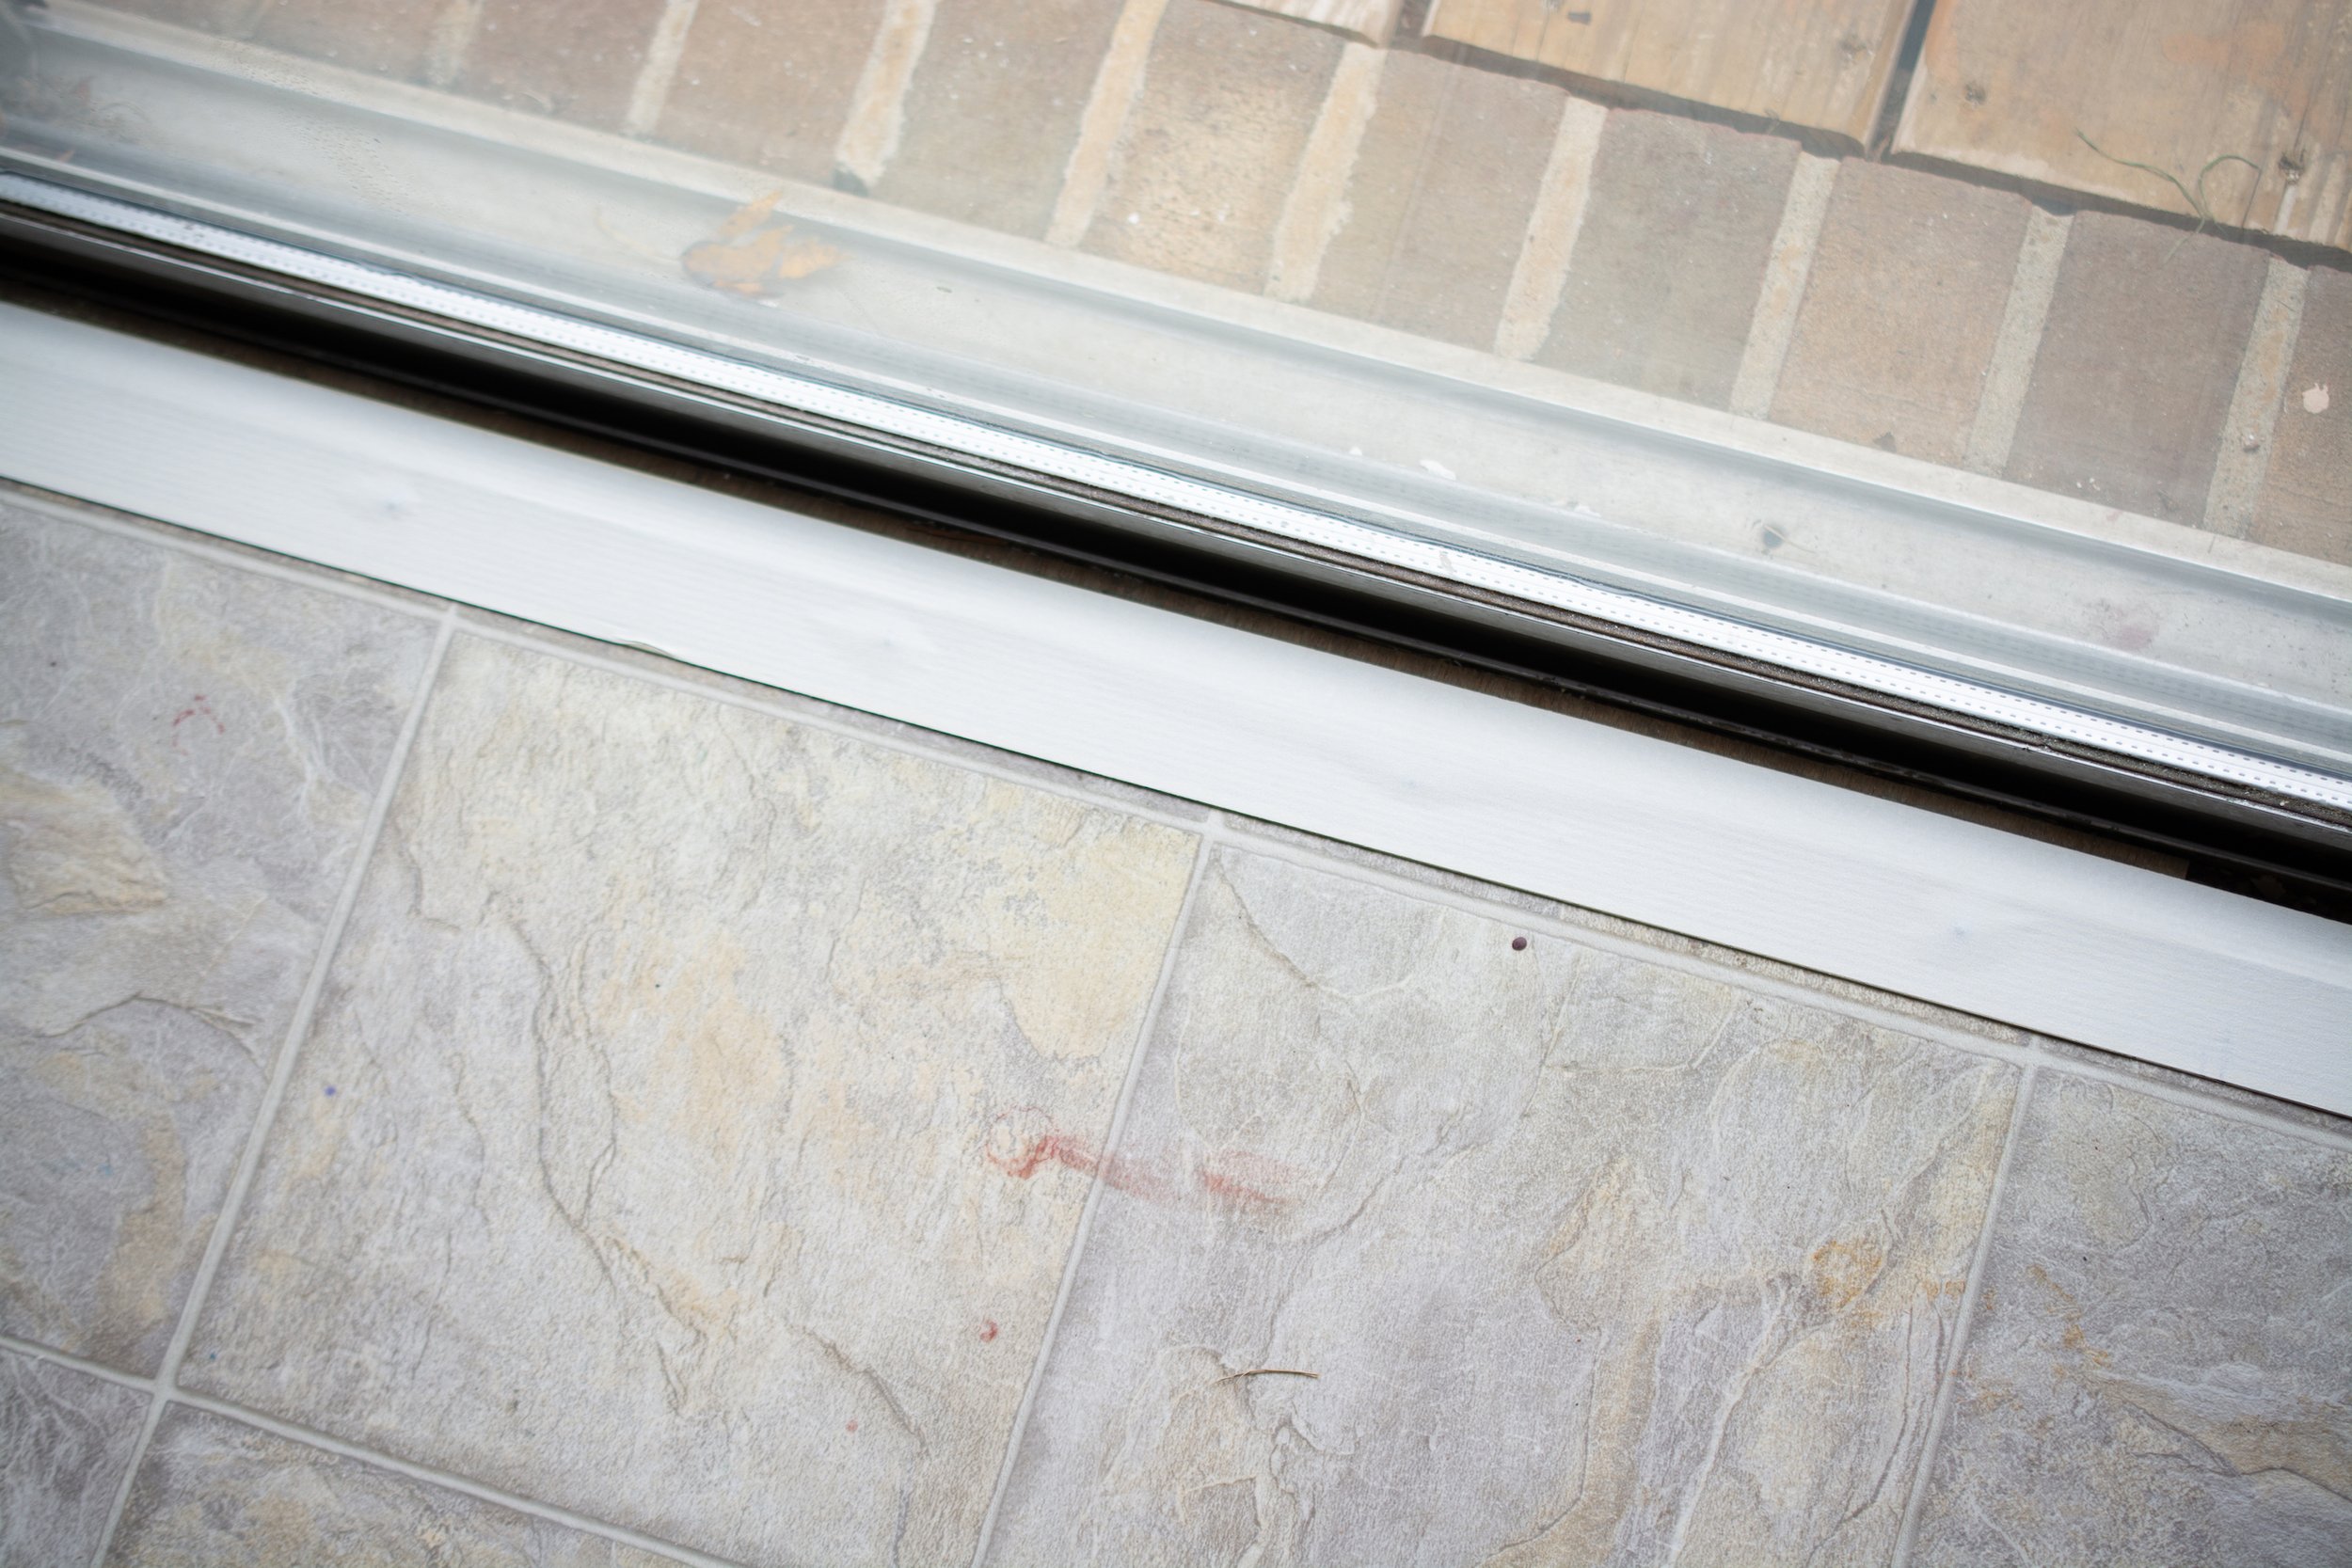
The linoleum before wasn’t a bad color, but what really bothered me most was the texture. I like to be very thoughtful about where I bring texture into my designs. It’s as intentional of a choice as color or furnishings. So working around this feature of our home drove me bonkers.
how to paint over linoleum flooring
After
The results in this kitchen are really quite dramatic.
white kitchen floor
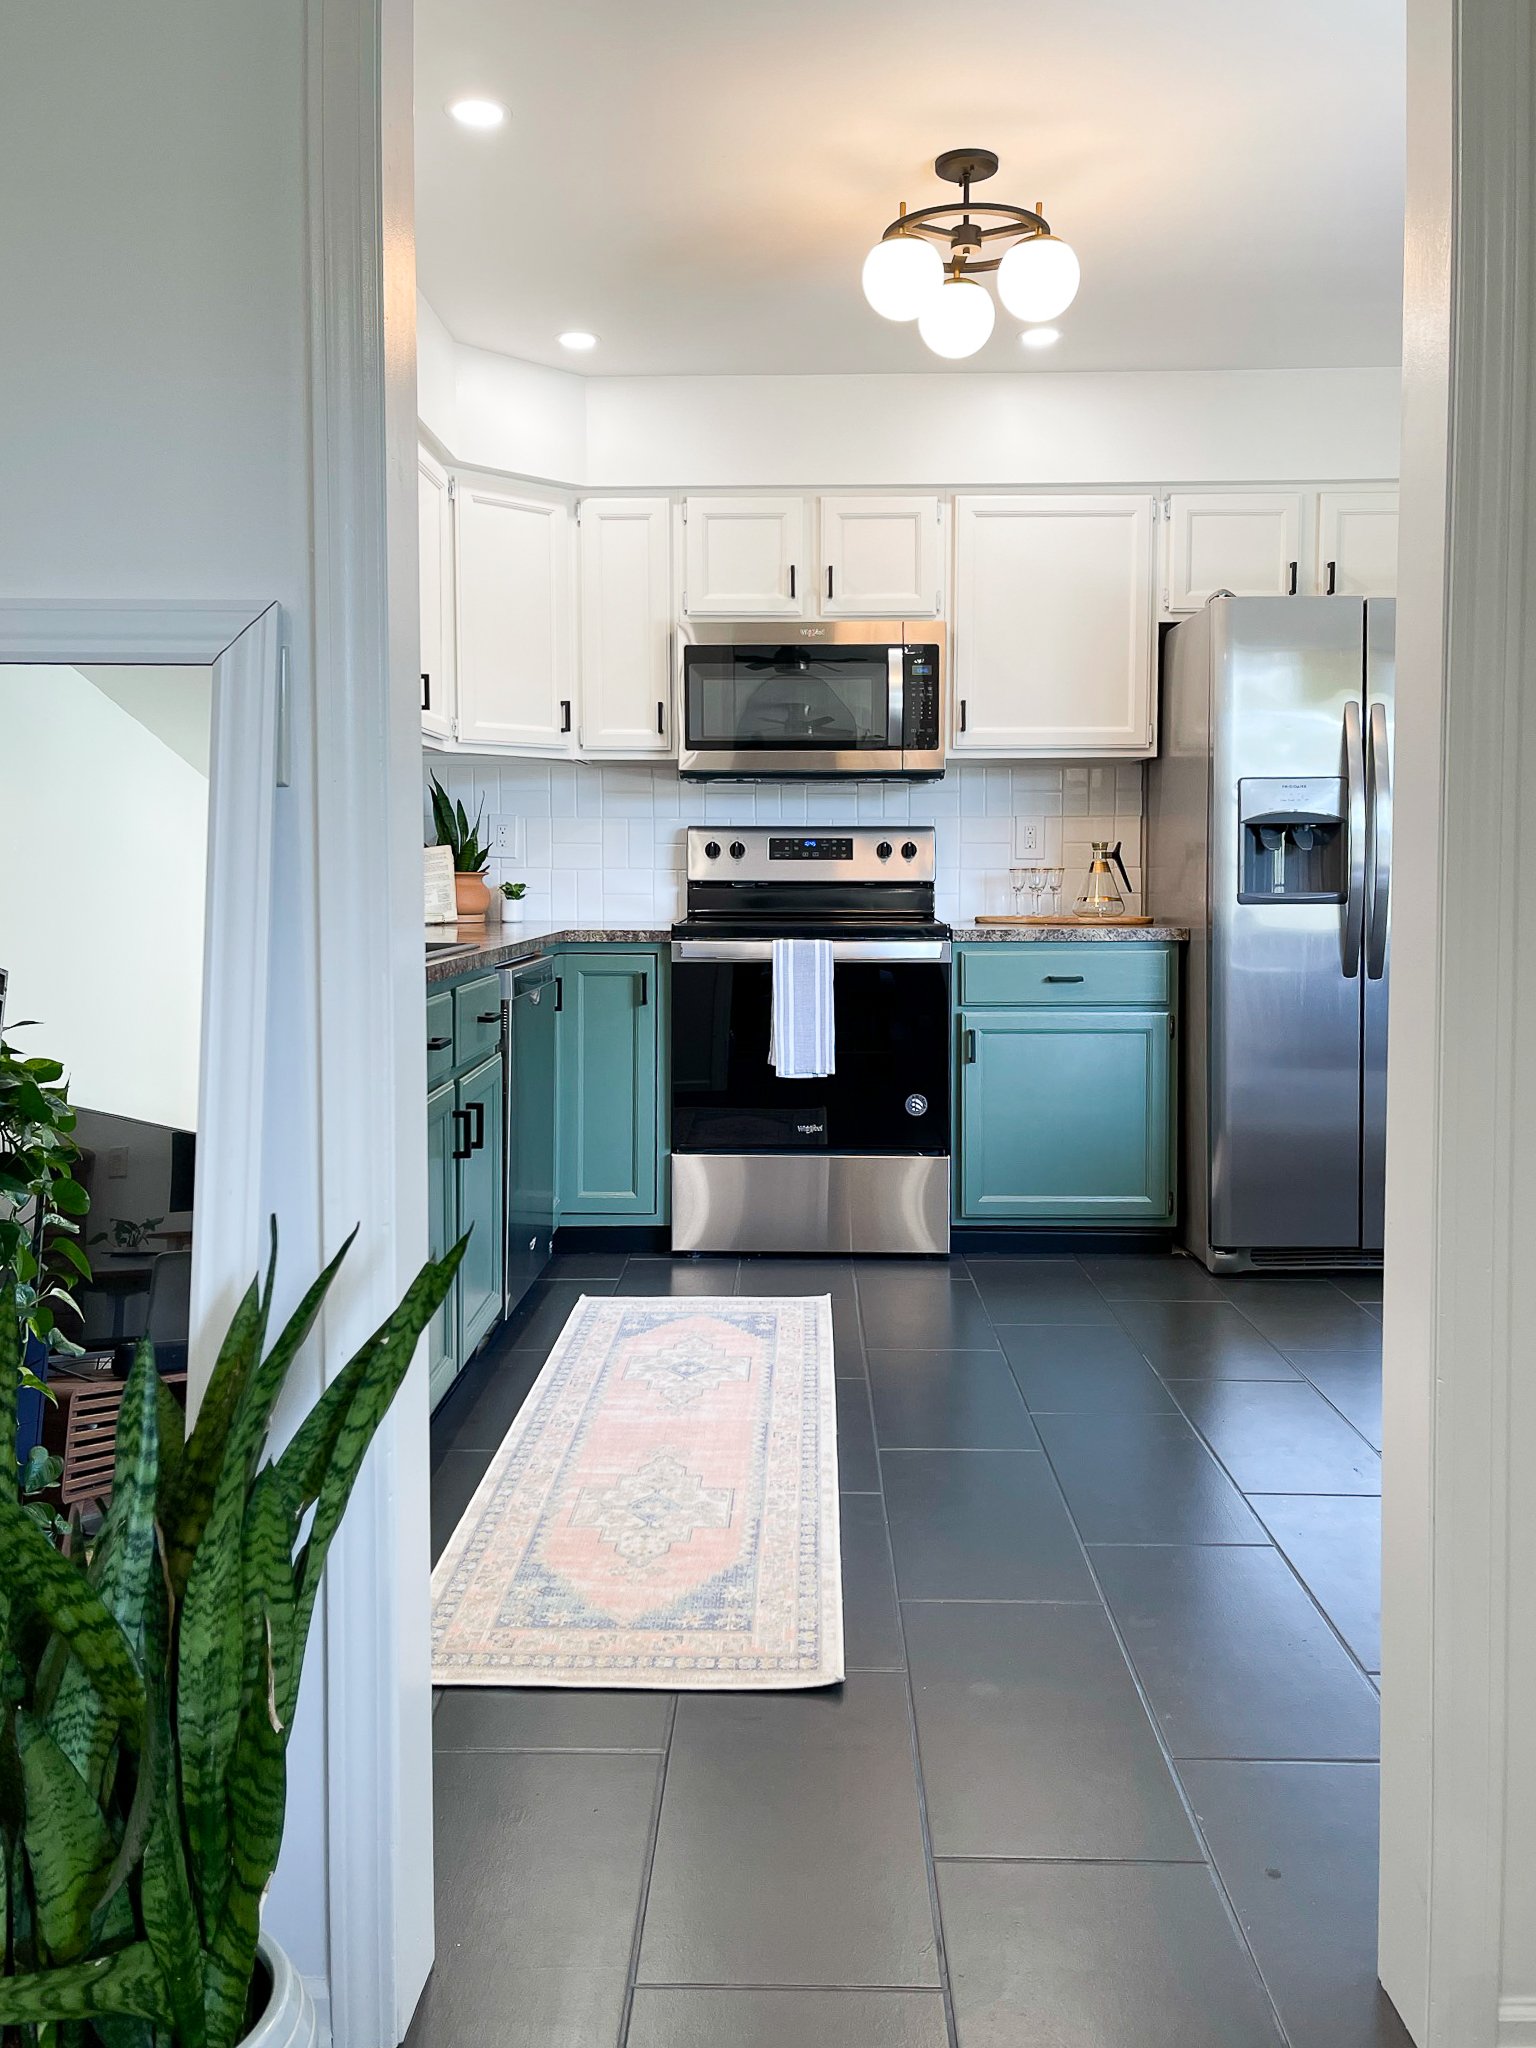
Still not convinced? I also suggested my E-design client try them out on their porcelain tile floor. In this case, the tile wasn’t in bad shape, it was just way more pattern than we wanted in this space.
When I initially saw the size and shape of these tiles, I thought they could really look like real slate if we were smart with the color and finish.
Before
how to paint a tile floor
After
And I was right! They turned out beautifully in this kitchen.
painted tile floor
Ready to get started? Let’s go!
painted kitchen floor
How to paint over a linoleum or tiled floor
Materials needed:
Paint rollers with a nap appropriate for the texture of your surface. You will save your back if you attach it to a long handle (most brooms detach from the pole and get be used for this purpose)
tight fitting clothing
How to paint a floor
I’ve read how people have used regular wall paint on their floors using a good primer first. I won’t discount that, but I will say, this Rust-oleum paint is super thick. Like…pudding! Try not to eat it.
Rust-Oleum floor coating paint
Just to give you an idea, I dipped my brush into it, and it remained like this. Oh, and I got some paint on my big toe, which did not come off for 6 weeks. I have never experienced this with regular paint, so I imagine this has something to do with it’s staying power!
Rust-Oleum floor coating paint
Step 1.)
The first step is all about prep.
You will need to thoroughly (or as best as you can) remove all debris from your floors. Go over it with a vacuum, then sweep a couple more times just to catch anything you missed. Make sure to get as far under any appliances remaining in the room, as you don’t want your paint brush to catch debris there later…
As you can see, my mirrored side-board is way too heavy to move around in this room. Especially since moving it back, would surely scratch the paint. We also left our oven and fridge for this reason. So if it’s less stress to paint around appliances or furniture, definitely do that!
TIP: You will want to make sure all pets and family members are out for the day. Even walking by a room that doesn’t have a door on it can blow dust and hairs in so you may also want to sweep up adjacent rooms. Trust me, you are going to get a little obsessed here once you start putting the elbow grease into it. Your family will forgive you later…
how to paint over a linoleum floor
2.)
Use painters tape to cover any entry floor seams or appliance edges. You will not be able to get the paint off if you have an accident, so this step is a must!
How to paint over a linoleum floor
3.)
Next you are going to use TSP heavy duty floor cleaner to get your floors completely clean. I believe this step is what really ensures good adhesion. I’d never used this product before, as I try to use natural cleaning products in my home as much as possible. But this was a one-time necessity. And it get’s the job done.
Make sure you are wearing gloves, a long shirt, eyewear, and a face mask for vapors when you use this as it is highly toxic.
Follow the mixing instructions on the back according to how much you will need for the square feet you need to clean. You will use one of your 5-gallon buckets to do this.
The other bucket will be filled with warm water.
Using your scrub brush, work in 4-foot sections, scrubbing with the TSP, and then using the warm water and sponge to wipe it off. Do not let any water sit on your floors.
TIP: To keep track of your sections, count how many tiles or “squares” you have on your floor (if you have them) and go from there.
cleaning a floor with TSP
4.) Once the floor is clean, use wall putty to fill in any holes or defects in your tile or linoleum. Maybe this should be done prior to cleaning the floor, but I didn’t want to risk the chemicals from the cleaning solution dissolving the putty (I feel kind of sure they would). Try to only use just what you need and make sure you remove any excess once finished and wipe clean with dish soap and water.
You may also want to use this time to glue down any pieces near the base boards if needed.
how to paint over a linoleum floor
5.) Paint.
Selecting a paint color and finish
Rust-oleum floor paint is available in 32 beautiful colors. You can even customize them using the primer white color. I wanted my floors to be white, but didn’t want them to scorch my retinas with a primer white, so I had mine tinted at Lowes to color match Sherwin Williams Eider white. It’s still a bright white, but takes the edge off a bit, and is a tad more forgiving to dirt and stains.
Now, obviously white paint does not hide dirt and stains well. I personally like to see when my floors need cleaned, so this wasn’t an issue for me. But there have been little stains creep in that I have had to accept. And with a pet that sheds, white will continuously remind you to stay on top of combing their fur. Darker colors, like the charcoal my client’s used, are more likely to show first and show prints. But my client assured me they did not wear shoes in the house, so this was a viable option for them. So picking a color really just depends on your lifestyle and how much you want to clean. If you want the most easy to maintain, forgiving color, stick with the mid-tone grays and tans.
Finish
I used the matte/flat finish because I wanted to minimize the texture in my linoleum. I also wanted to be able to easily touch-up the paint in the future as needed (you can still do this with a gloss, it’s just less forgiving). I also recommended the matte finish to my client’s (above), because I wanted it to mimic slate. So you see, the finish is every bit as important as the color. One thing I want to point out is even the matte/flat finish has some shine to it. I would actually compare it to a satin finish in wall paint. So I can’t imagine how shiny the semi-gloss must be, but I would expect it to be more like a high-gloss. Keep in mind, the more darker (more saturated) the color, the more it will reflect light and appear shiny.
Eider white by Sherwin Williams
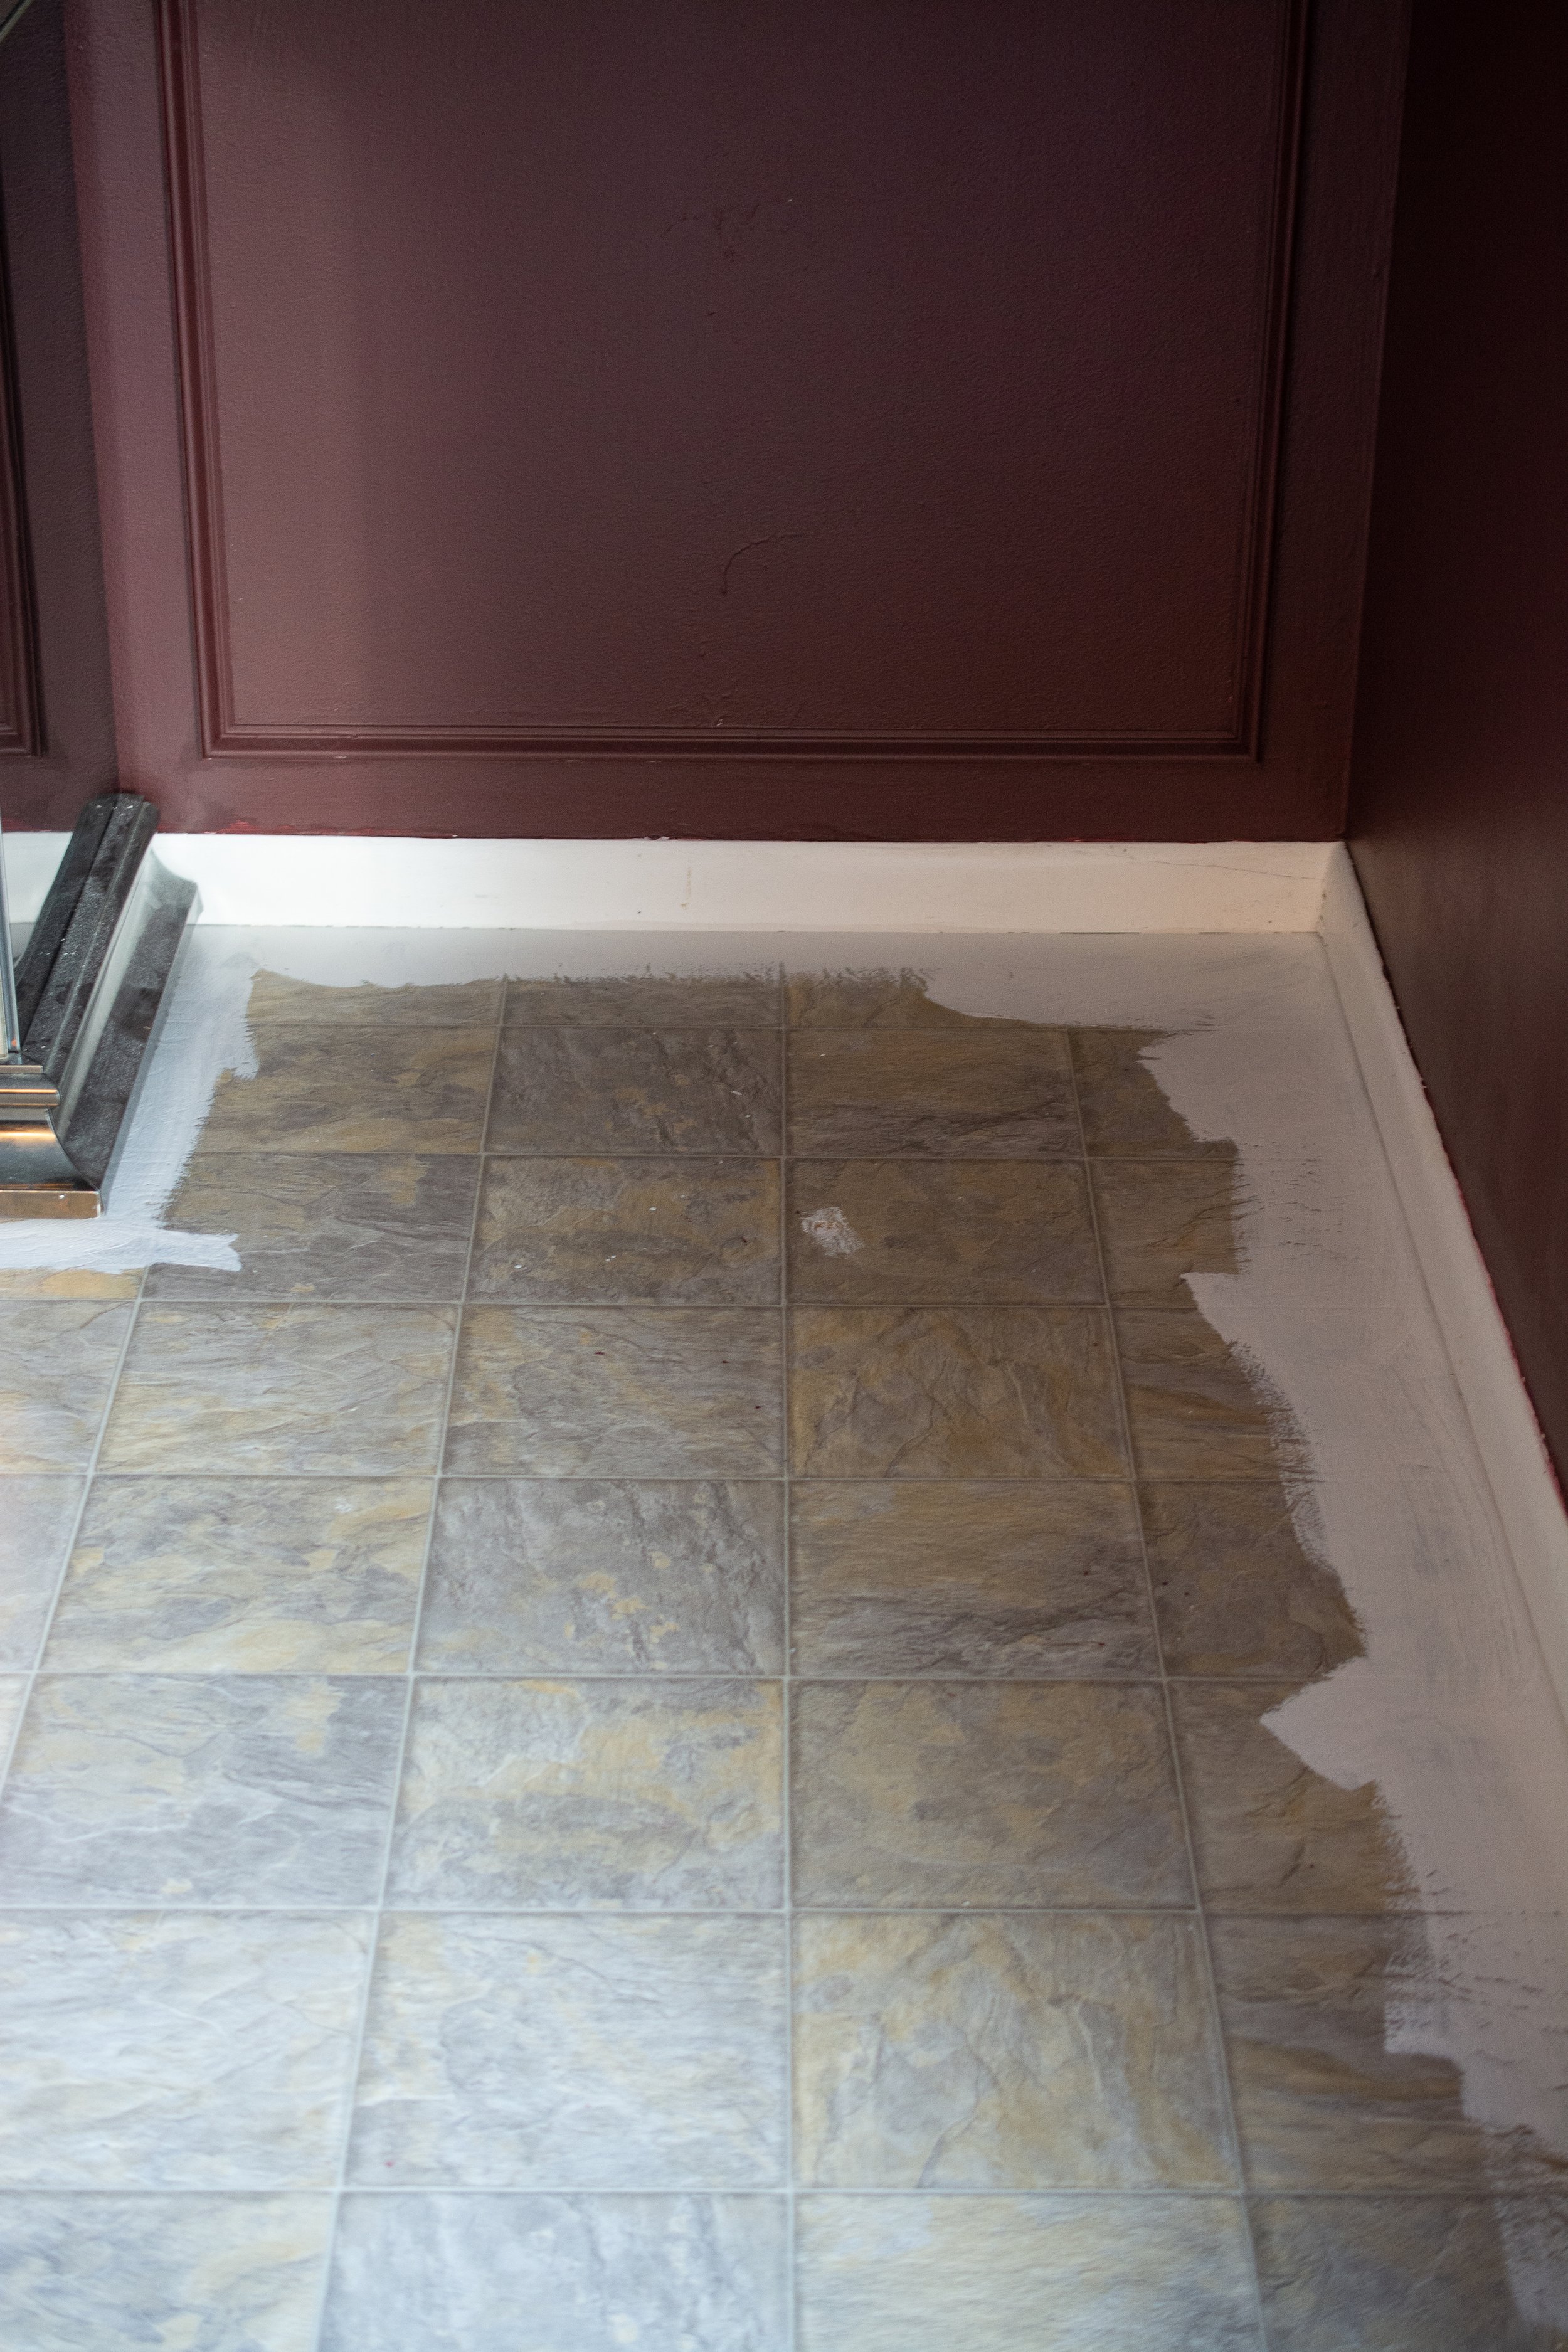
6.) Start with your paint brush, working around the baseboards and any furniture/appliances. Try to get as far under the appliances as you can.
how to paint over a linoleum floor
7.).
Next, start filling in the rest of the floor in sections, making sure to work in a way that doesn’t back you into a corner. You will need to be able to leave the room so this can dry before adding the next coat.
Wait at least 6 hours to add the next coat, and each coat thereafter. I used two coats on my floor, but I wish I would have added one more as there are areas where I can still faintly see the gray. You’ve come this far, why not, right?
how to paint over a linoleum floor
I asked my husband to take a photo of me and try to make it look cute. LOL. This is the best he came up with.
TIP: One thing I will say about wardrobe: I wore these new sweat pants for the first time and discovered they were dropping little fuzz balls everywhere. YIKES! So, I recommend tight-fitting clothes, like yoga-wear or even a bathing suit. Also, make sure your hair is tied back or in a hair-net.
After 12 hours you can do light walking, but be careful. I think we got a little too comfortable in here because it really does feel dry to the touch. But what I realized, is that all the lint and debris from everyone’s clothing was being dropped onto the floor. Try as I might, there were hairs that must have dropped during this time, that eventually cured into the paint. Not a huge deal, as you don’t really notice them unless close up. And we like to think we are leaving a little of our DNA behind when we leave. LOL. That said, if you are painting a high-traffic area like a kitchen, setting up a camping-style food table, with cooler, in another room will keep you from having to go in as much.
Let the coats of paint dry for at least 24 hours before going on to the next step.
how to paint over a linoleum floor
8.)
Next, you are going to use a new roller to go over the floor with the top coat. It is very thin, like water.
Rust’oleum floor coating top coat
I used two coats just to have that extra layer of protection. VERY IMPORTANT: I noticed some of the reviewers for this product complained of a yellowing that occurred days later, over their white painted linoleum. I contacted customer service to find out why. They said this occurs when the top coat is left in puddles to dry on the surface. So make sure you use even strokes, and do not let it puddle in excess, whatsoever. I strongly recommend a second, or even third top coat as it ensures you do not miss any areas. I noticed a few spots I must have missed with the top coat, that have worn differently than the rest of the floor.
Wait the full 72 hours before bringing furniture back into the room. We did not rush this step and I think it’s why we had such good results.
how to paint a floor
And you are done! As you can see, you can definitely still tell these are textured, linoleum floors, but I know longer have to deal with all that color and pattern.
painted linoleum floor
Would I do it again? Absolutely. I’ve learned a few things in the process I hope to cover in the FAQ below.
painted linoleum floor
FAQ
Q. Can you mop a painted floor?
A. Yes! I use a steam mop that even heats up, and have had no issues with the paint pilling up.
Q. Can you use any cleaner on the floor paint?
A. I noticed the top coat doesn't not like it when I use a Mr. Clean magic eraser, so I’m thinking it may not take too kindly to bleach products. I normally use Bissell Eucalyptus Mint floor cleaner on my floors with no issue.
Q. What if you have a stain that doesn’t come up?
A. I have had a few mystery stains appear that don’t seem to wipe away (remember I have a 5 year old). I contacted customer care and they said I could gently sand the area using a fine grit, then touch-up paint and topcoat. Again, this is easier done with a matte finish.
Q. Can you sample the floor paint first?
A. Not from home depot, where the product is sold. However you may be able to contact Rust-oleum directly and see what they can do to provide a sample.
Q. How much floor paint did you use?
A. I purchase the gallon kit because I was covering a large area. I was worried it wouldn’t be enough but I only ended up using half! Even with two coats. So a little goes a long way. Not every Home depot location carries the exact size/color/finish you may desire, which is frustrating. In my case, they wouldn’t even ship the size, color and finish I wanted to me, or even between stores, so I had to drive an hour to get mine. The quart size can be purchased online, as well as in stores, so if that’s all you need, you may be in luck. Keep in mind, the color of the floor you are covering will also dictate how much paint you need, not just the size of the room. I’m very happy to have leftover paint for touchups so going for the gallon was worth it, in my opinion. Plus the clear top coat will come in handy for other uses down the road.
Q. Have your dogs nails scratched the floor paint?
A. Nope! Not at all and he actually has kind of long nails.
Q. Can you switch up the finish on the floor paint if you aren’t happy with it?
A. I haven’t tried it, but have read that yes, you can use a top coat from this system with a different finish over top.
Q. Will furniture scratch the floor paint?
A. I imagine if it’s heavy enough, yes. However, we have dragged dining chairs and step stools, among other things, with no problem. There have been times I thought, for sure it will be scratched after this, and it wasn’t! I’m not saying it’s not possible, but we haven’t experienced it yet.
Q. How long does the floor paint last?
A. I honestly can’t say from experience, since its only been two months. I imagine this has a lot to do with application and wear and tear. However, this is really only a temporary solution. I wouldn’t go this route if you are wanting to keep your floors for more than 3-5 more years.
Q. Does the paint pucker or peel if water sits on it?
A. No. I haven’t experienced this at all. The top coat provides a water-tight seal.
Q. Can you customize the paint color fo your Rust-Oleum floor coating?
A. Yes! Purchase the “primer white” and take it to your nearest Home Depot paint center, along with the paint number (or name) of your choosing. Even if you didn’t buy it there, they will do this for you in my experience.
Q. Do you have to sand first?
A. Sanding will help the product adhere better however my client’s painted over their porcelain tile (which they of course couldn’t sand), and had no issue with adhering.
Q. How much did the paint cost to cover your floor?
A. I used the gallon-sized kit from Rus’oleum and it was about $110
Q. Can you use this on other surfaces, like countertops?
A. Yes! I have seen this done with beautiful results, and I feel confident it would hold up to wiping. Just make sure you use a paint roller with a nap for very smooth surfaces.
One last note: I noticed the top coat does makes the floor a bit slippery, much like a polished tile, so I wouldn’t recommend elderly people walk across this flooring without some traction under their feet.
Any other questions? Feel free to ask in the comments below!
Want to work with me on your custom E-design? No matter where you are located, I can assist you!
