Silhouette Ornament DIY
Are you a LMG like me? That’s short for Last-Minute-Gifter. You know if you are one because you feel the pangs of anxiety that start to set in about this time of year. If you are looking for a special gift for the grandparents or the pet-obsessed friend on your list, not to worry, I’ve got you covered.
Silhouette Ornaments
Each ornament cost me less than $3 and took around 10 minutes to make. How’s that for cheap and easy!

silhouette ornament diy

silhouette ornament DIY
There are quite a few ways to make a silhouette, and I don’t claim to have the easiest method (If you are savvy with photoshop, you can even do it this way). When I had mine made as a kid it was done with a projector and a steady hand. I knew that was NOT going to happen. Even if I had that kind of technology and patience, I needed it to be small enough to fit inside an ornament. I mentioned wanting to create this to a friend at my book club and she was kind enough to share her method of silhouette-making with me. I’ve adapted this to ornament making and have found this works beautifully for small projects like this. I also like that this method is entirely hand made (other than the digital photo).
Let’s dig into the process, shall we?
Materials needed:
-photograph
-plastic globe ornament that opens in half
-scrapbook tape or glue
label maker, washi tape, letter stamps or good ol’ fashioned ink pen!
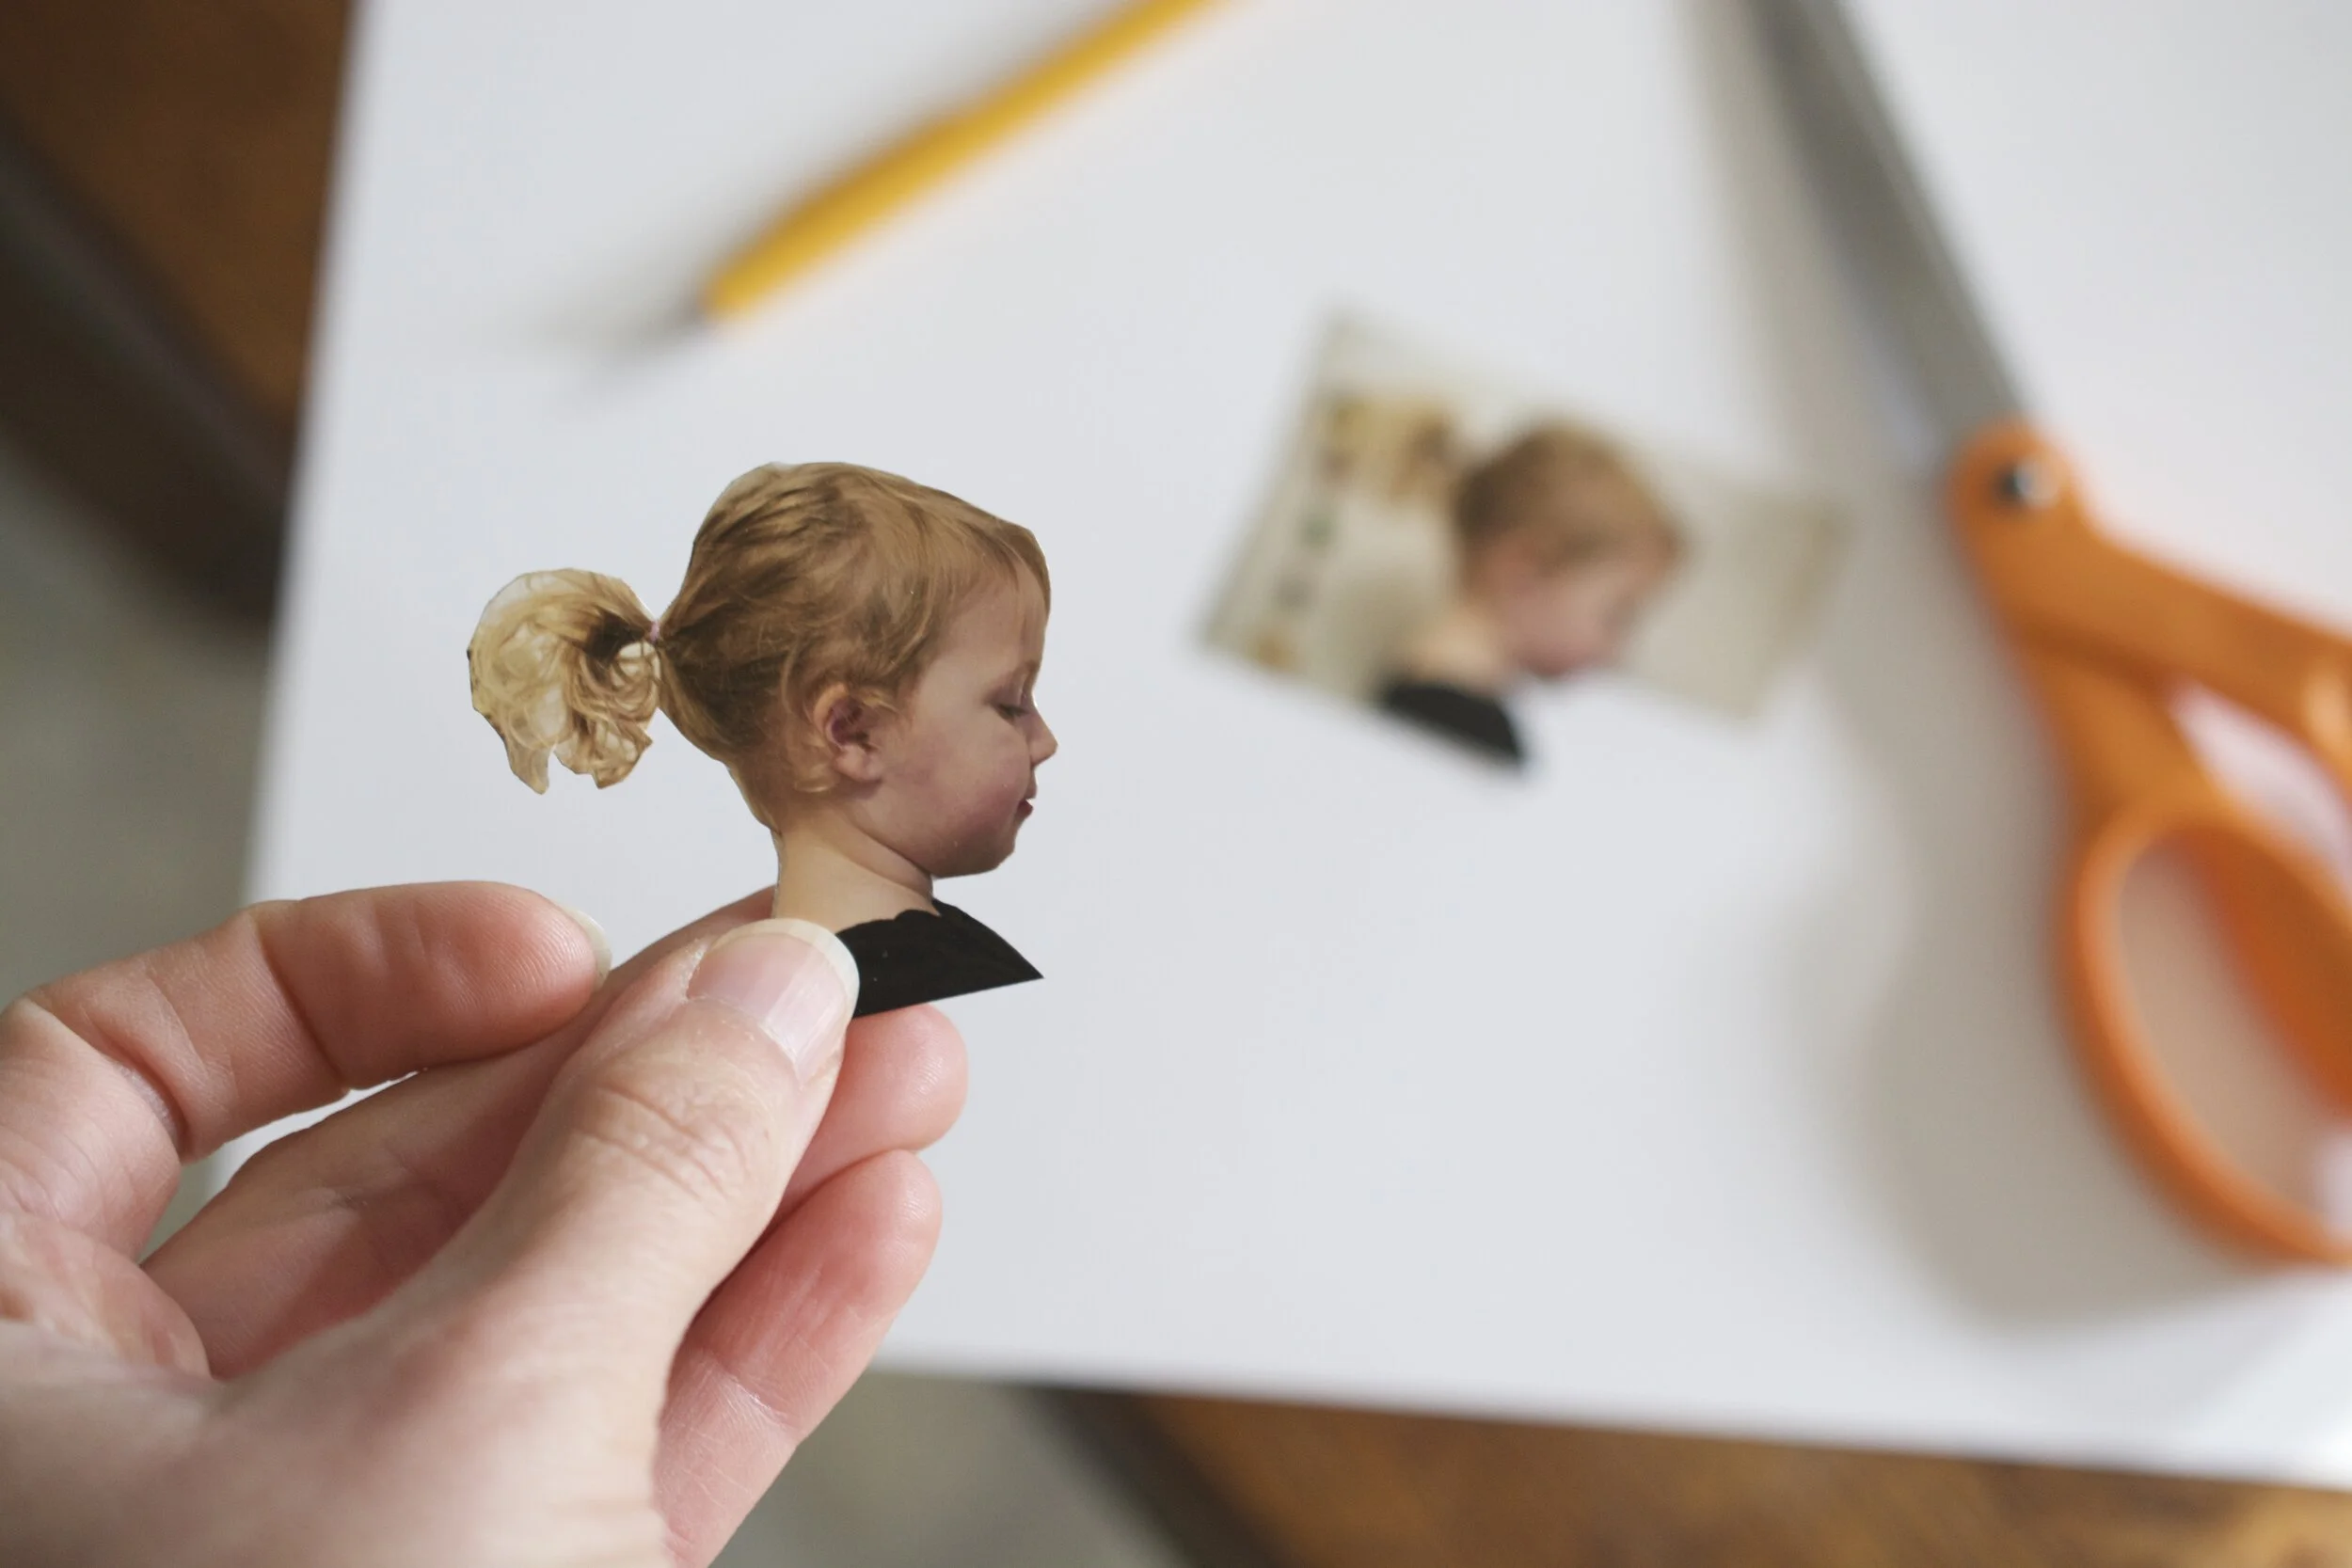
The first thing you’ll need to do is snap a couple profile photos of your subject. Or one if you are very confident! I snapped one with my daughters hair down, and the other in a pony tail because I wasn’t sure which would work better. More on that later, but it’s best to have options here. Just make sure the photo is bright and all of the face is in focus.
Have these printed at wallet size if you want your ornaments to be standard sized like mine.

how to make a silhouette using a photo
Now to begin making your template.
I cut out my template using sharp scissors and they worked just fine. You may prefer to use an exacto knife here. Just make sure you have a cutting board underneath and watch those fingers!

how to make a silhouette using a photo
Now that your template is cut out, the hardest part is over! And you only need to do this part once.
how to make a silhouette using a photo
Next make your paper selection for the silhouette. You can go classic black and white, or have some fun with color and pattern. Cardstock, wrapping paper, leftover wallpaper etc. all work here. Just make sure the pattern is close together. Using more abstract, large-scale patterns could result in your subject have a head that's all one color with a green nose. And no one wants a green nose.

silhouette ornament diy
Now grab a sharp pencil and start tracing. You are going to trace a line around the template on the BACK of the decorative paper you have chosen (I like this one). This will leave you with a mirrored image of your subjects face and prevent you from showing any of your pencil lines. It’s also easier to see your markings on this side of the paper. I found a mechanical pencil worked best.
(Ummm, wow is it time to get a manicure)

how to make a silhouette using a photo

how to make a silhouette using a photo
Now that the face is traced, go ahead and cut around it to free a bulk of the paper. This will allow you to rotate it as you cut into those nooks and crans of the facial features. The hair and lips are tricky, so I added those in later. A small round V for the lips is fine. Don’t overthink it!

how to make a silhouette using a photo
And now you have your silhouette!
(Whoops. Do make sure you don’t have a bar code on the opposite side you are cutting. 🤣)
As you can see, the photo with my daughters hair down didn’t turn out as well. It’s looking like a growth coming out of her head. Not cute. I’m so glad I also had the pony tail option to work with here.

how to make a silhouette using a photo
Now you need a plastic globe ornament that can be opened in half like this one

silhouette ornament diy
Next you are going to trace one of the half circles on the backing paper of your choice. You can go as flimsy as you want on the silhouette paper, but your backing paper needs to be thick cardstock. I even tried construction paper and it just didn’t have the structure needed.

silhouette ornament diy
You are going to cut out your background disc just inside the line you traced. You want it to be able to fit snug inside the ornament but not be too small that it’s flopping around in there. If you are making more than one ornament, save this as a template for the others.

silhouette ornament diy
Next you are going to use double stick tape or glue to adhere your subjects face to the disc. Make sure you are applying the tape/glue to the side that HAS the pencil marks so they won’t be seen.

silhouette ornament diy
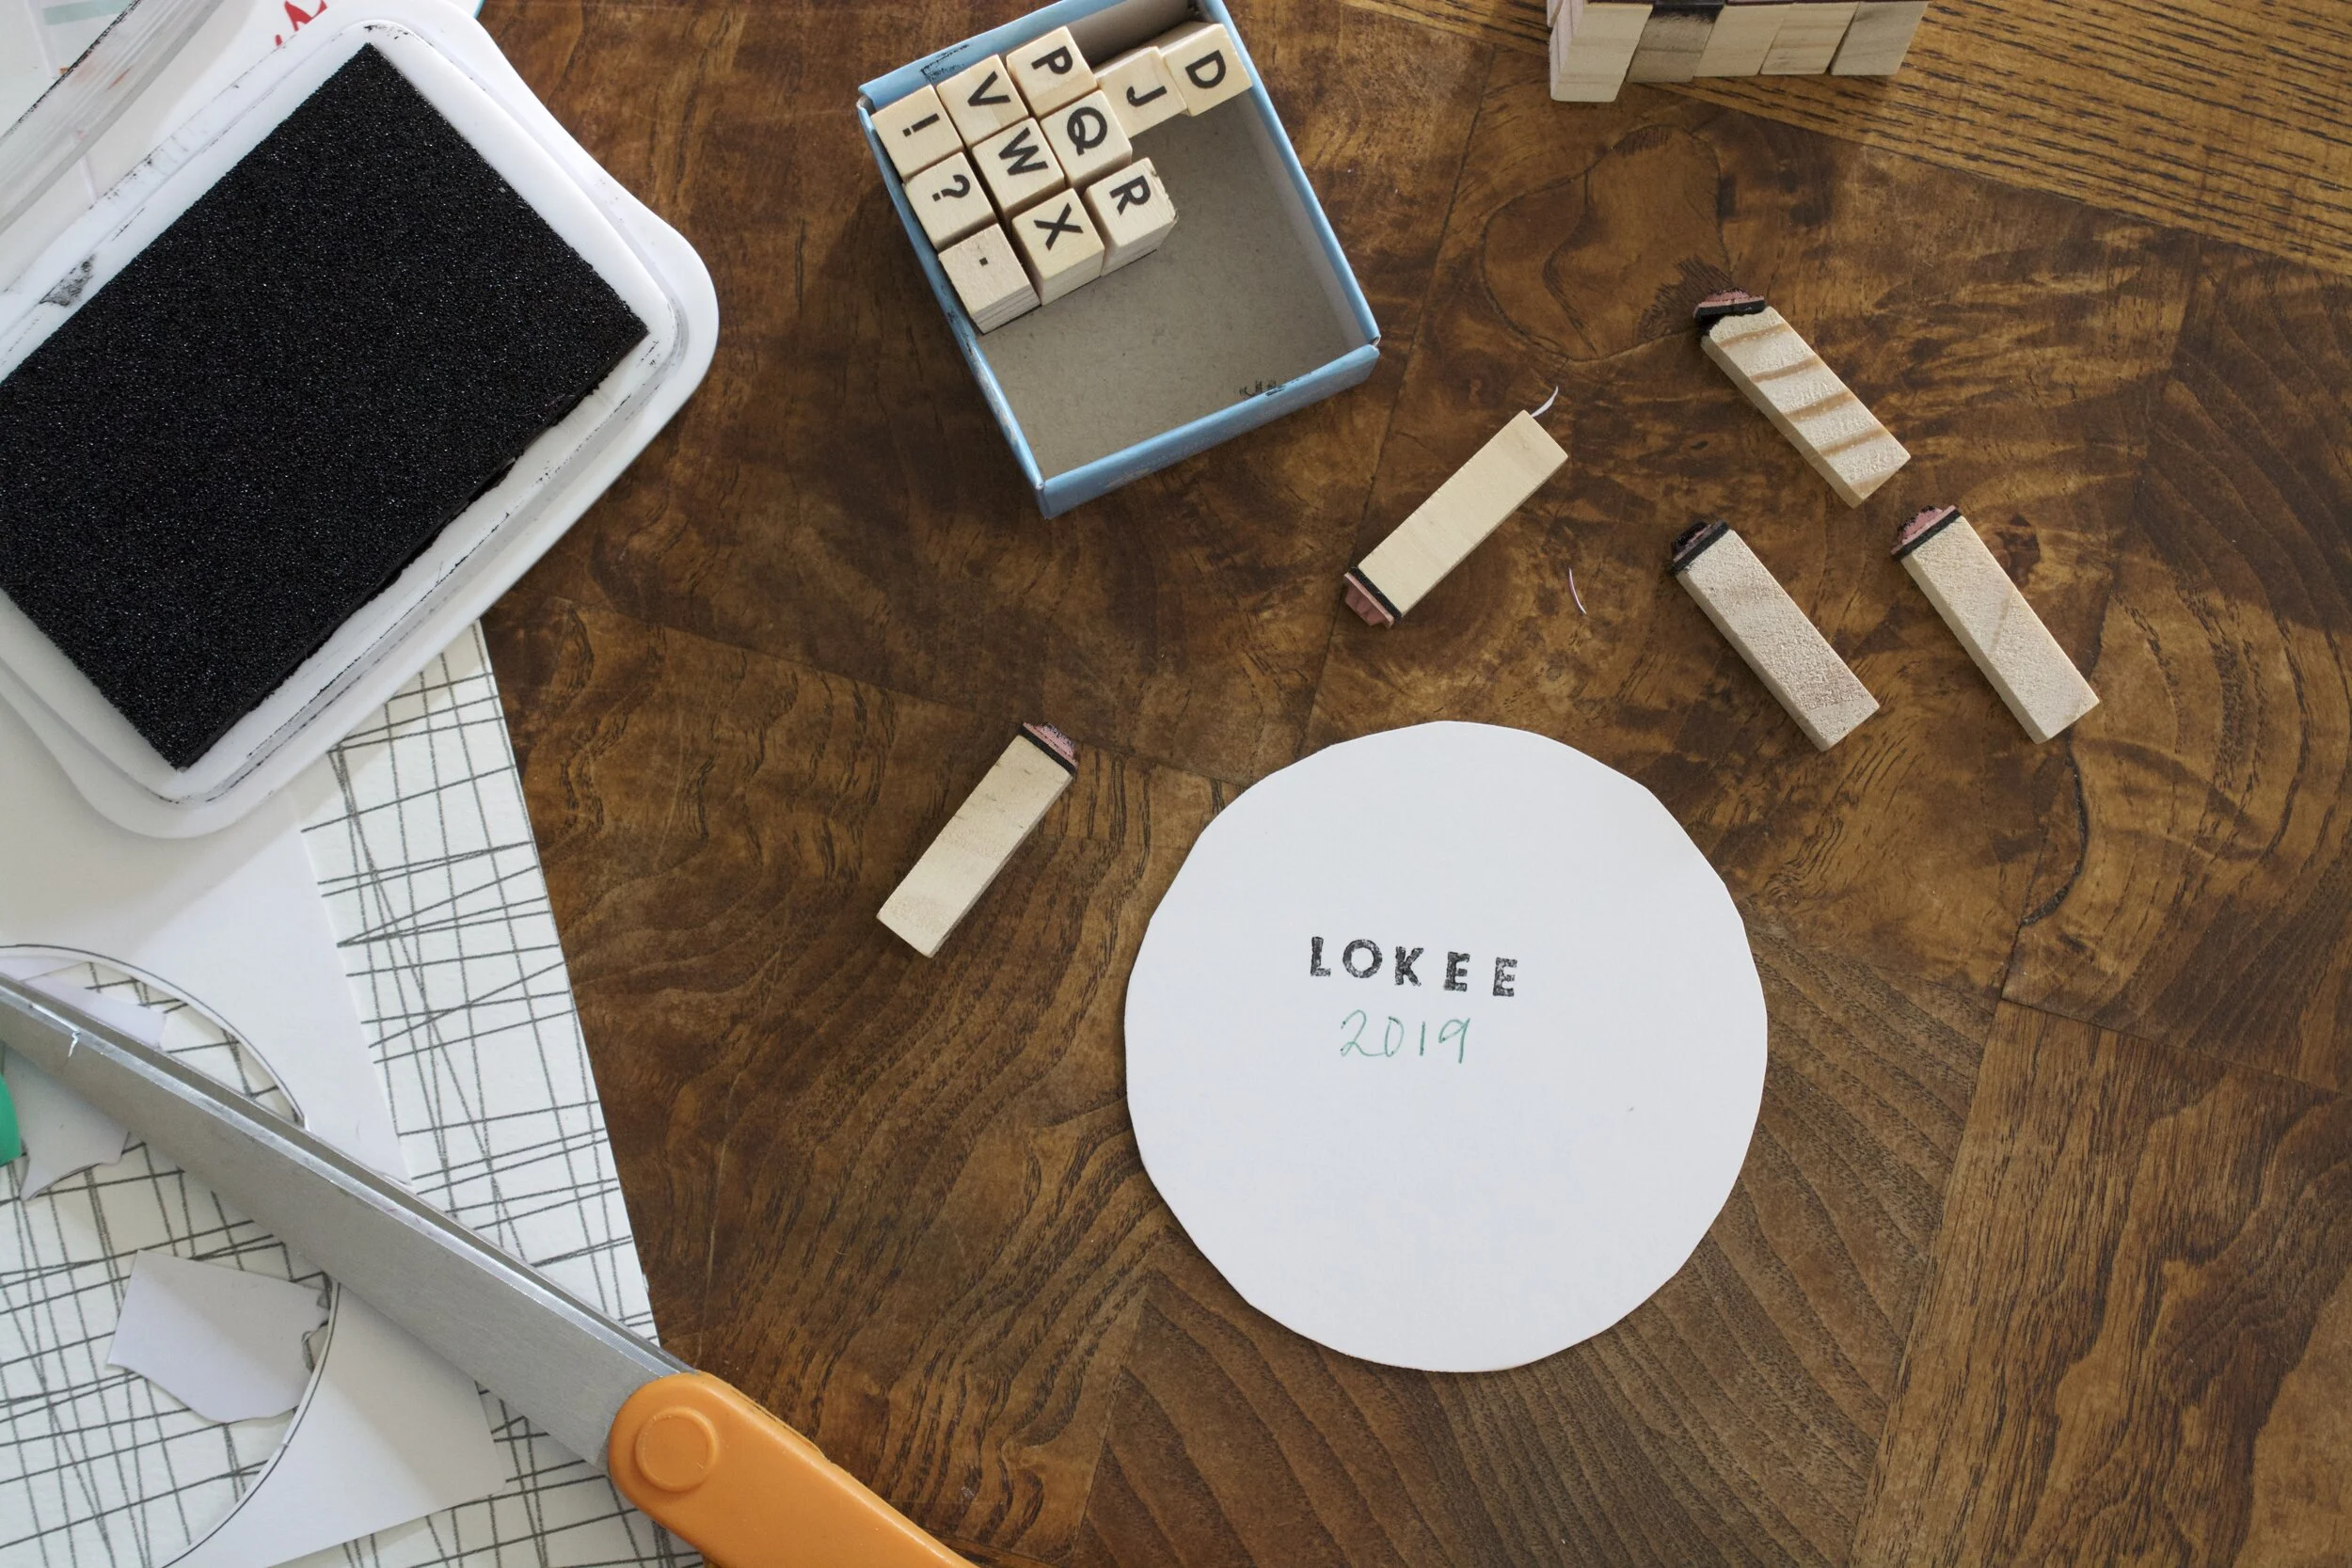
Since this is a keepsake, you are going to want to add a name and year. My handwriting is just…um…quite awful, so I explored some other ways of doing this on the back. If you were gifted with fabulous handwriting why not try embellishing this information to the front?
A label maker looks clean and gets the job done…

silhouette ornament diy
These little letter stamps make it feel vintage-cute!
silhouette ornament diy
Washi tape is great because you can write over it.

silhouette ornament diy
Add your ribbon and you are DONE!

silhouette ornament diy

silhouette ornament diy
Remember to make one for yourself

silhouette ornament diy
This post contains affiliate links, which means I make a small commission at no extra cost to you. See my full disclosure here.
I’d love to know if you make one! Please let know in the comments section how it turns out 😁
-Katie